
Retirement Living takes an unbiased approach to our reviews. We may earn money when you click a partner link. Learn More
Walk-In Shower Installation Guide
Walk-in shower installations are a step-by-step process that requires knowledge of local building codes, removing the old shower/tub, supporting the subfloor and walls, installing new plumbing fixtures, and waterproofing and tiling.


Updated:
AT A GLANCE:
- Installing a walk-in shower involves nine core steps, from planning the bathroom layout and understanding local codes to sealing joints after setting the base and walls.
- Gathering the right tools and materials upfront, including a level, backer board, waterproofing membrane, and potentially grout and tiles, helps prevent mid-project delays.
- Choosing between a prefab shower kit and custom tile floors/walls affects bathroom remodel cost, installation difficulty, and waterproofing/sealant requirements.
Bathroom-related injuries send at least 235,000 people to the emergency room each year, so it’s no wonder so many seniors are looking to install a walk-in shower or bathtub. These low-threshold, or curbless showers, reduce the risk of falls, but they’re also a substantial bathroom renovation.
To remodel a bathroom for a walk-in shower, you’ll need to follow several steps before the shower enclosure is even constructed, all while meeting local building codes. Below, we’ll break the process down into nine core steps.
Essential Walk-In Shower Tools and Materials
If you’re attempting a DIY installation, having the right tools and materials on hand is the very first step and will help prevent delays! Luckily, we’ve outlined everything you might need:
Core Materials
- Cement board (backer board)
- Thinset mortar
- Waterproofing membrane
- Wall panels (prefab shower kits)
- Grout
- Silicone sealant
- Drain and plumbing fixtures
- Shower base
Most prefab shower kits include wall panels, a shower base, and drain assembly materials. However, you usually buy the tiles, mortar, grout, sealant, and plumbing fixtures needed for custom showers separately.
Essential Tools
- Measuring and layout: Tape measure, level, and a stud finder
- Demolition: Pry bar, hammer, and reciprocating saw
- Cutting: Hole saw (for plumbing fixtures), wet or manual tile saw, and a utility knife for cutting cement board/membrane sheets
- Fastening and sealing: Drill/driver, notched trowel (for thinset mortar), grout, and a caulking gun for sealant.
- Cleanup: Shop vacuum, sponges, and buckets
Optional Upgrades
- Grab bars: Added for safety and accessibility; require blocking behind the wall during the prep stage to anchor securely.
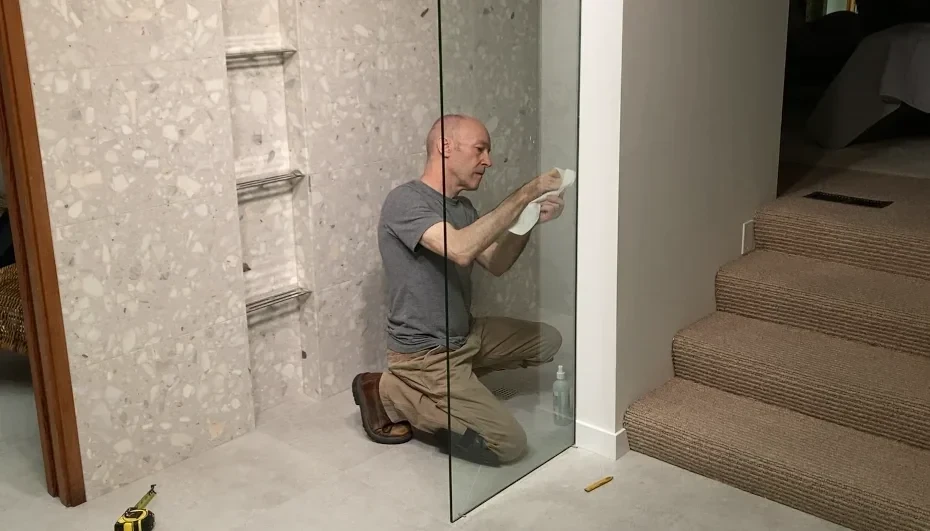
- Glass enclosures: Framed or frameless glass doors and panels that are installed in place of a shower curtain.
- Built-in niches or shelving: Recessed storage built into the wall during framing and waterproofing stages for shampoo and soap.
How to Install a Walk-In Shower
Learning how to replace a tub with a walk-in shower or update an existing shower is as simple as following these steps:
1. Check Local Building Codes
Before you start knocking down shower doors and tiles, you should contact your local building department and ask about regional requirements. For instance, many municipalities demand building permits for plumbing changes or post-installation inspections. Codes also typically dictate minimum shower dimensions, curb height, and slip-resistence standards.
We always recommend taking this step first, as skipping it can lead to costly rework later if the renovation doesn’t pass inspection.
2. Plan the New Bathroom Layout
Once you understand local codes, the next step is determining whether the new walk-in shower can fit in the existing corner/alcove or requires layout changes. Measuring for the new installation’s length and width (typically 30–60” L by 30–36” W), door swing clearance (usually 30–36”), grab bar placement, and curb height are all vital.
At this stage, the measurements will likely tell you whether to choose a prefab shower kit, which simplifies installation when minimal renovation is needed, or a more customizable but more complex and expensive tiled shower.
3. Remove the Old Shower
Disconnect the drain and water supply lines, then carefully demolish both the shower floor and walls down to the studs and subfloor. You almost always need to replace the drywall once you’ve removed this tub or shower unit because it’s usually too damaged to salvage. Likewise, removal can regularly reveal hidden issues like water damage, mold, or rot that will need to be addressed. Everything must be disposed of properly using:
- Roll-off dumpster rental
- Junk removal services
- A local transfer station or landfill
4. Prep the Stud Walls and Subfloor
The subfloor and wall studs may need reinforcement, repair or replacement to create a strong, level base for the new shower. This process could involve adding blocks between the studs to anchor grab bars, showerheads, or other fixtures, as well as raising low spots in the subfloor.
Before the next step, use a hole saw to cut clean openings for plumbing rough-in relocations (drains, shower valve, etc.).
5. Install the Drainpipe and Shower Base
Align the drainpipe precisely with the shower drain outlet on your shower pan. A simple dry fit can help you confirm the alignment. Usually, you need a 1/4 inch drop per horizontal foot (2% grade) toward the drain for water to flow freely without pooling.
Next, you’ll set the base on a bed of mortar. If your new shower has a custom tile floor with a linear drain, you’ll need to build the pre-slope by hand. This involves a sloped mortar bed beneath the waterproofing layer, rather than setting a prefab pan.
6. Waterproof Walls and Seams
Now it’s time to waterproof both the floor and walls. For the shower floor, place a pan liner over the pre-slope to create the watertight barrier that will rest beneath the final tile or mortar surface.
For the walls, different projects will require different methods depending on your shower type and materials:
- Sheet membrane systems: Most common in custom tile showers, this durable, pre-formed waterproof membrane is applied directly over cement board.
- Liquid membrane systems: Rolled or brushed over cement board, this liquid compound cures into a waterproof barrier after 24 to 72 hours. It’s a good option for showers with lots of corners, niches, or curves that a sheet won’t fit into, but the area must stay dry during curing.
- Direct-to-stud waterproof panel kits: Prefab shower kits often include waterproof panels that are installed directly over the studs, saving project time by skipping cement board and membrane altogether.
7. Install Wall Panels or Tiling
While shower kits have already skipped ahead to this step with prefab wall panels that go up quickly using adhesive, other walk-in showers require tiling over waterproofed cement board.
Start by dry fitting tiles to the shower walls and making any necessary cuts (using a wet tile saw, angle grinder or manual tile cutter) for corners and fixtures. To apply the tiles, spread thinset mortar on the cement board in small sections using a notched trowel. As you set each tile against the mortar with a slight twisting motion, the mortar acts as the glue holding it to the wall.
Once everything has cured for 24 to 48 hours, use tile spacers and a leveling tool to keep lines even as you apply grout. Wipe away excess grout before it hardens, then seal the remaining grout lines to prevent moisture penetration.
8. Install Fixtures and Test Leaks
Once the wall panels or tiles are secure, the next phase is installing fixtures with plumber’s tape, pipe joint compound or special fittings/adaptors. These fixtures can include anything from showerheads and valves to grab bars and door hardware.
After they’re in place, briefly run water through the system to check for leaks around the drain, valve connections or seams. Address leaks immediately, as hidden water damage can lead to future mold or structural problems.
9. Seal Joints and Cure Properly
Finally, apply silicone sealant where it matters: the transition zone between the shower pan and walls, in corners, and around fixtures. This is the final waterproofing step before you can use the shower, and it must cure for another 24 to 72 hours, depending on the specific product you use. Rushing this step is one of the most common causes of early leaks and callbacks.
Walk-In Shower Kit vs. Custom Tile
When installing a walk-in shower, you’ll usually choose between a prefab shower kit, a tile-over-pan setup, or a fully custom tile build. Each option has unique pros and cons, with the best one for you depending on your budget, timeline, and DIY capabilities.
For example, acrylic and fiberglass kits are easier to clean and less prone to grout issues, while tiled showers offer more design flexibility but require more ongoing maintenance to keep grout lines sealed.
Here are the three options compared side-by-side:
| Option | Cost Range | Install Difficulty | Waterproofing Needs |
|---|---|---|---|
| Prefab kit | $1,000 to $3,000 | Easy installation with prefab materials and minimal cutting | Direct-to-stud panels come with the kit |
| Tile-over-pan | $1,000 to $5,000 | Prefab base simplifies the floor, but walls still require tiling | Membrane or waterproof backer board behind tile; base is pre-waterproofed |
| Full custom tile | $4,000 to $12,000 | Requires pre-slope, pan liner, and precise tiling throughout | Full membrane system (sheet or liquid) plus pan liner for the mortar-bed floor |
Ultimately, prefab kits suit homeowners with limited budgets and timelines, while tiled options offer more customization and control but may require professional installation. This is especially true for seniors with limited mobility.
When to Consider Professional Installation
For seniors aging in place, DIY walk-in shower or bathtub installation isn’t always realistic. Prefab shower kits can make it easier to complete an affordable walk-in shower installation on your own, but especially for custom tile showers, an expert’s touch might be needed.
Utilizing professional installers not only makes it less likely that you’ll experience leaks or slope issues but also means you’ll have access to someone who understands local building codes. In the end, that precision could save you hundreds on improper installation that doesn’t pass inspection.
Some manufacturers offer professional installation as part of their quoted price, but it’s worth inquiring about before you commit to a walk-in shower model.
Frequently Asked Questions (FAQs) About Walk-In Shower Installation
Yes, you can install a walk-in shower yourself, but depending on the complexity, it can be difficult. Prefab shower kits use wall panels and shower bases to simplify the process, but if your bathroom layout requires custom measurements/tiling, it may be worth reaching out to a professional.
The average cost of a walk-in shower is $2,000 to install a prefab shower kit or $8,000 for a custom tile unit. The actual installation cost depends largely on the type of walk-in shower, the bathroom’s location, and whether structural changes are required. For instance, installing a shower that requires custom tiling on the second floor will likely be more expensive than installing a prefab shower kit on the first floor.
Walk-in showers need to be at least 30 inches deep, but 36 to 48 inches is usually recommended to prevent water from splashing onto the bathroom floor.
Walk-in showers need a slight slope toward the drain to prevent water pooling, as the water will always funnel toward the drainpipe rather than the corners.
Most states and municipalities require permits to install a walk-in shower, usually because it involves changing plumbing lines, resizing, moving drains, or altering walls. Contact your local building department for more information.
Installation time depends on the shower type. Prefab kits can take as little as one to five days, while custom tile projects can take two weeks or longer.
Help us improve our guides! If you’ve recently installed a walk-in shower or completed a bathroom remodel, we’d love to hear from you. Share your experience with us at [email protected]. Your personal details will stay completely confidential.